If you are part of the planner world then you have probably seen bitmoji stickers in planners. I wouldn’t say it’s a new craze because it has been around for over a year. Recently in my Facebook group, an old post about bitmoji stickers has resurfaced and I thought it might be a good idea to give an easy step by step instruction blog tutorial on how to create and print your own bitmoji stickers.
What is a Bitmoji? Bitmoji is a type of cartoonish avatar that represents you. The Bitmoji App allows you to create cute and accurate digital versions of yourself, with different actions, captions, emotions and more. It can be used in several web-based services such as Facebook, Snapchat, and Gmail just to name a few.
Where do I get the Bitmoji App? In order to create a Bitmoji of yourself you must first download the Bitmoji App to your digital device. The app can be found for free at Google Play or Apple App Store.
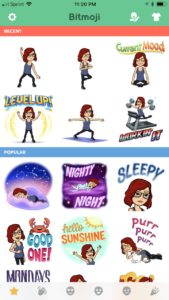
What does the Bitmoji App look like? The app will look like this:
Step 1 – Download the Bitmoji App to your digital device
Step 2 – Open the Bitmoji App
Step 3 – Select your Bitmoji Style (Bitmoji or Bitstrip)
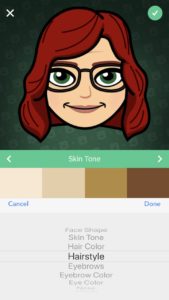
Step 4 – After selecting the style you will be taken through several steps to personalize your physical appearance.
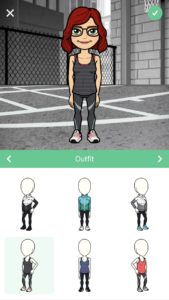
Step 5 – Select the outfit you would like to wear.
Step 6 – Click the check mark when you are done personalizing.
Step 7 – Scroll through all the different actions, captions and emotions for your Bitmoji
Step 8 – Once you find an activity that you like, hold your finger down on the picture and save that picture to your phone and/or email that picture to yourself.
Step 9 – Open up the email on your computer and download the picture of the Bitmoji.
Step 10 – Open up your word document
Step 11 – Insert the downloaded picture of the Bitmoji to your blank page.
Step 12 – Resize the image to the size you would like your sticker to be. (Note I usually use 1”x 1” for Bitmoji’s but it’s really your personal preference.
Step 13 – Once you have all of the Bitmoji pictures added to your page you are ready to print on copy paper or sticker paper. (Your personal preference)
This is the fastest way to create a Bitmoji Sticker in my opinion. I’m sure there are other ways that use different programs but most people know how to use word.
I hope you have a lot of fun with this.
Happy Planning
